Photos by Mark Fike


Want to do a fun project to get ready for hunting season? How satisfying would it be to make your own turkey call and then harvest a turkey with it? It is much easier than you think and a lot of fun!
So how easy is it to make your own call? That is up to the individual. There are a number of companies that offer box call kits that need only to be sanded, and a screw put in and some chalk added for a working call. Of course, that call can be painted, wood-burned, and stained to make it look great and be one of a kind. Making your own call can also be as involved as finding a log and roughing out a box call. My first attempt at going from a log to a working call is still a work in progress, although it is an active part of my turkey hunting arsenal of tools each spring and fall.
You can find a slew of options of kits for those wanting to try their hand at making their own call available for ordering online. As stated above, box calls are the easiest kits to finish off and customize.
Box Call Kits
Box call kits come with four parts. The box, the paddle or handle, the screw, and a spring to put tension on the pivot point of the lid. Box calls are often made of walnut, cedar, poplar, or cherry, but other wood can be used as well. The size of the call can be chosen as well as the paddle type. Some prefer a compact call, while others prefer a long paddle.
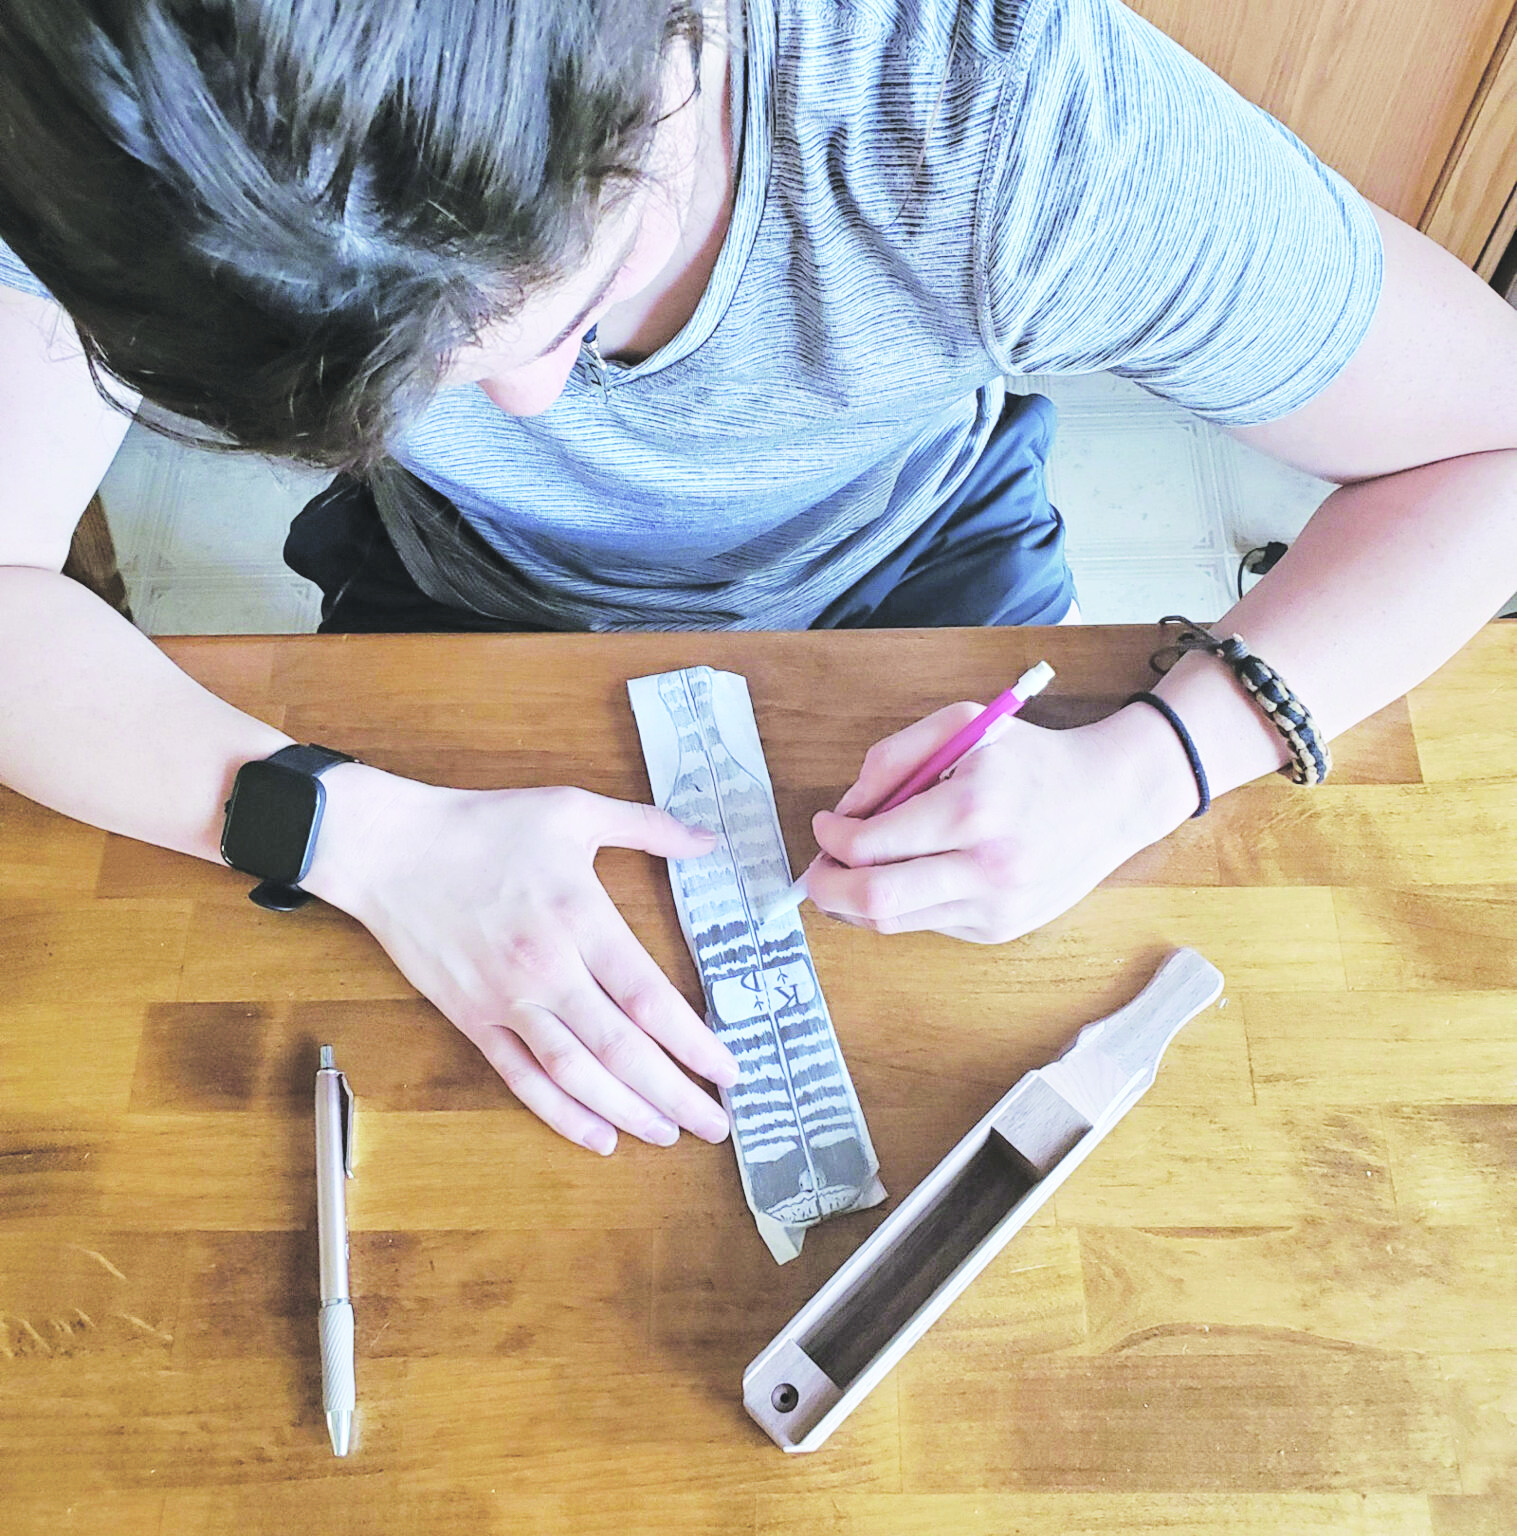
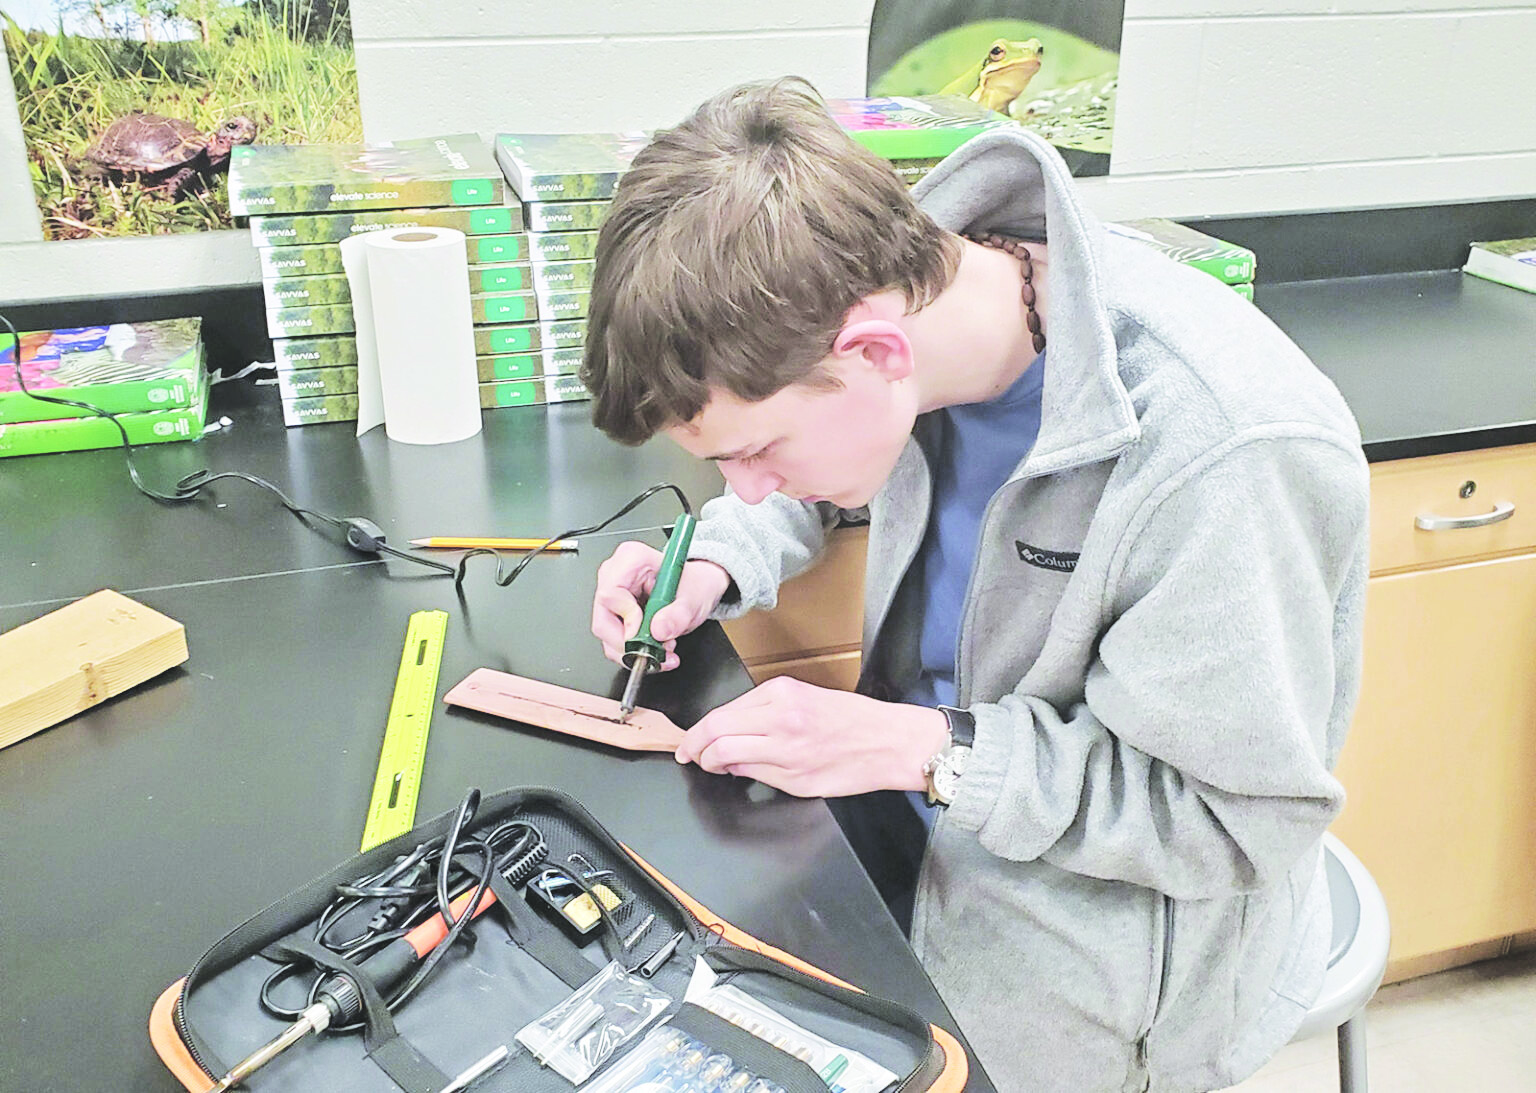
Paddles have a flat top, and this is where a lot of customization can occur. Wood burning turkey tracks, initials, or designs on this flat surface make the call a one of a kind. Walnut is a dark wood and very hard, so wood burning takes patience. Poplar or cedar is softer and easier to burn and a bit more visible. The bottom of the box or even the sides of the box can also be decorated with a wood-burned design if so desired. Sanding or cutting contours in the paddle or box can make it interesting, and cutting a slot around the call to use a rubber band to minimize inadvertent yelps when carrying the call in a vest is an idea too.
One way to perfect your wood-burning design is to use tracing paper to get the design on the wood to create a visible pattern to burn. My daughter used paper and drew her design lightly on one side. Then she shaded the opposite side of the paper a dark pencil. Next, she flipped the paper, taped it to the paddle and traced firmly on her design as she “redrew” the design. The shaded portion on the back of the paper got transferred onto the wood, allowing her to see where to burn the wood.
Another way is to simply draw the design right on the wood with a pencil. Before wood burning, test your burning skills on a scrap piece of wood, preferably the same type of wood you are using. Try different tips to get a good feel for how to create the different effects of your design with a flair. Take your time and have patience. Be careful of the hot tip while burning the wood! Wood burning kits can be readily purchased at a craft store or online. Get one with a variety of tips for the most options when making your call.
When choosing types of wood for your call, consider what kind of design you will want and consider how much you want it to show. Lighter wood like poplar will offer more contrast. However, the rich and dark tones of walnut—plus its rot resistance and density—will allow it to last and work well for years to come. Another consideration is mixing wood types. Some boxes can be ordered with the box being one type of wood and the paddle being another. I also saw boxes with one side of the box as one type of wood and the other side a different type of wood. The idea there is to create a unique pitch or sound with one side of the call and then have a different tone or pitch on the other side. Basically, you can have two calls—or “hens” —in your hand at once!
Friction/Pot Call Kits
If box calls are not your preferred call, friction call, known as pot call kits, are also available in wood or plastic pots with slate or glass for a scratching surface. Strikers are variable as well. I prefer wood for the most customization as possible. Kids in our outdoor club have wood burned all kinds of designs on their pots and some have even “washed” their wood pots with paint and others outright painted designs on their pots. The pots are a bit more involved to assemble, but not at all difficult.
The first thing I would do is to sand my pot completely. I also would sand down my striker. Consider using a belt sander to sand out grooves in the pot for finger holds, but take care not to sand so far as to cut through the pot!
Next, wood burn or stain the pot and striker before using a good glue (I use a clear Gorilla Glue for my kits) to assemble the sounding board to the pot. Use a hand clamp to hold the glass sounding board in place after putting a bead of glue on the raised wood in the center. After that dries, very carefully put a small bead of glue around the inside of the pot, taking care not to get it where it will be seen, and gently lower the slate or glass playing surface into the top of the pot. Hand clamp and let it dry for 24 hours.
When customizing your pot call and striker, consider a nice design on the striker itself to include the top of the handle and down the sides as well. You could dye or stain the point of the striker one color and the handle a different color. Many like to put their initials on the top of the striker handle.
Years ago, I found an old walnut tree that had fallen over long before I purchased our property. Walnut is very slow to rot. I used my chainsaw and cut a section of the trunk out and found much of it still in reasonable shape. Next, I put the fence on my little table saw and squared up a chunk of the log, roughed out a box, and kept the rounded piece of the log to fashion into a paddle for the box call.
Using a paddle bit, I set the box on the drill press platform and carefully drilled out the interior of the box and started sanding it. The grain started to show, and the box took shape. It has been a slow process, due to keeping busy with other projects, so I have not completed the call quite yet. However, I’ve got it sounding pretty good and have called in a few gobblers with it already. I just need to customize it to my liking. This was all done with the use of a chainsaw, table saw, drill press and some time with sandpaper. I plan on sanding it a bit more, and perhaps wood burning it and putting some custom touches on it, before sealing the wood with oil.
When you are looking for a small project to do this summer and dreaming about the upcoming hunting season, consider making your own turkey call.
Mark Fike, Virginia Department of Wildlife Resources

